How to Draw a Bag
There are a few different ways that you can draw a bag. The first way is to start with two rectangles, one for the front of the bag and one for the back. Then, add two handles to the top of the bag.
Next, draw a line down the middle of the bag to create a seam. Finally, add any details that you want, such as a zipper or pockets.
Another way to draw a bag is to start with a rectangle and then add two triangular shapes for the handles.
You can also add a strap if you want. Again,draw a line down the middle of the bag to create a seam. And finally, add any details that you want.
One last way to draw a bag is to start with an oval shape. This will be more like a purse than a shopping bag. Add two handles on either side and then Drawa line down the middle of the bagto createa seam .
As always, don’t forget your details!
- Begin by drawing a rectangle
- This will be the shape of the bag
- Next, draw two straps coming down from the top corners of the rectangle
- Make them equal in length
- To finish the bag, add a curved line at the bottom of the rectangle to create an opening for the bag
Credit: www.youtube.com
How Can We Draw a School Bag?
Assuming you would like a tutorial on how to draw a school bag:
Start by drawing a rectangle. This will be the shape of the bag.
Then, add two small rectangles at the top of the first rectangle. These will be the straps of the bag. Next, add a curved line at the bottom of the rectangle.
This will be the bottom of the bag. Finally, add any details you like! You can make it look like your own backpack or get creative and add different colors, patterns, etc.
How Do You Draw a Nice Bag?
Assuming you would like a step by step guide on how to draw a bag:
1. Draw a rectangle that will be the base of your bag. This can be any size or shape you like.
2. Next, add two handles to the top of your rectangle. These can be straight lines, curves, or anything else you like.
3. To give your bag some depth, add a side panel to one side of the rectangle.
This can either be attached directly to the side, or slightly offset as shown in the example below.
4. Finally, add any other details you like such as a closure (flap), pockets, stitching, etc. Be creative and have fun!
How Do You Draw a Real Bag?
There are a few different ways that you can draw a realistic-looking bag. One way is to start by drawing a basic outline of the bag’s shape. Next, add in some details like the straps, handles, and any pockets or embellishments.
Finally, color in your drawing to finish it off.
Another approach is to start with a detailed sketch of the bag. This can be done by either drawing it freehand or using reference photos to help you get the proportions and details right.
Once you’re happy with your sketch, you can then begin adding in shading and other finishing touches to make it look more realistic.
Which method you use will ultimately depend on your own personal preference and style. Just take your time and experiment until you find a technique that works best for you!
How Do You Draw a Bag Sketch?
Assuming you would like a tutorial on how to draw a handbag:
Start by sketching out the basic shape of the bag. For most bags, this will be oval or rectangular.
Draw two curved lines for the handles, and add a line across the top for the closure.
Next, start fleshing out the details of your bag. Add any embellishments such as studs, tassels, or fringe.
Include any pockets or compartments that your bag has. If you’re drawing a purse, don’t forget to add the strap!
Now it’s time to give your bag some dimensionality.
Start by drawing in the seams where different panels of fabric come together. Then add some shading to give your bag volume and depth. Finally, erase any stray lines and you’re finished!
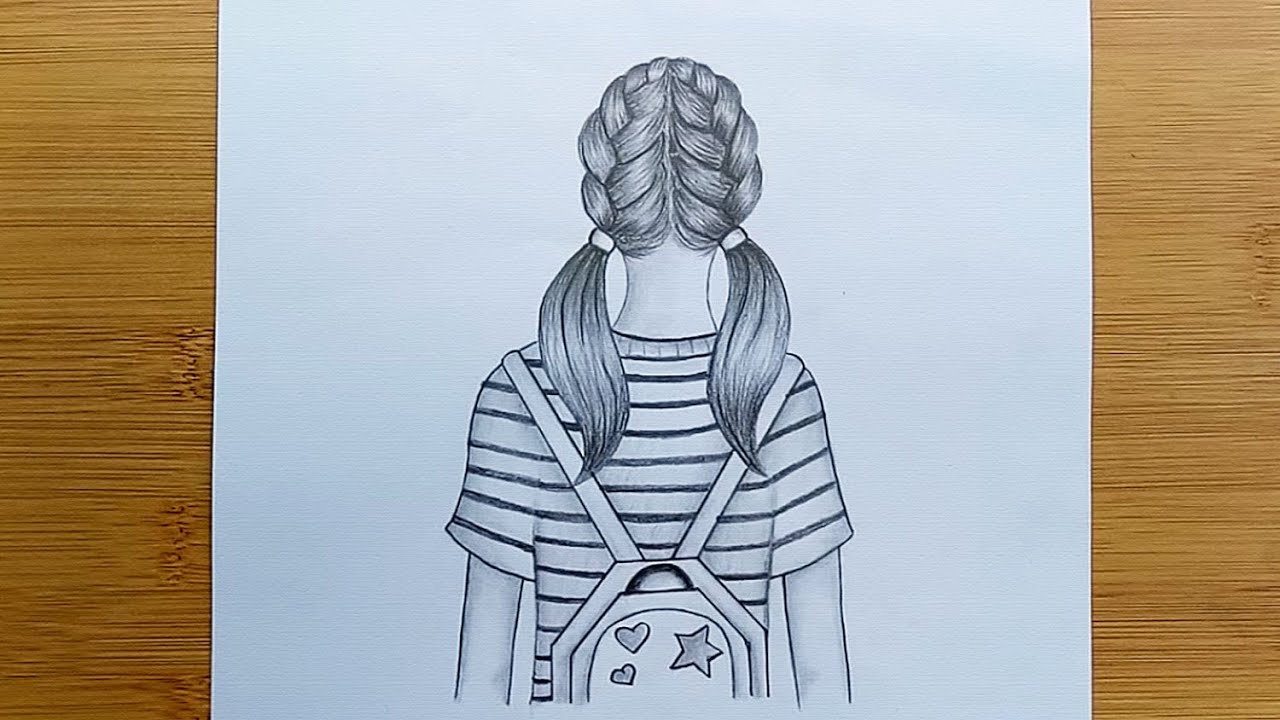
HOW TO DRAW A BACKPACK
Conclusion
In this blog post, the author provides a step-by-step guide on how to draw a bag. The author begins by outlining the different parts of the bag, such as the handles, straps, and body. They then provide detailed instructions on how to draw each part of the bag.
The author also includes screenshots to help readers follow along with the steps. By following these steps, readers will be able to create their own bags that they can use for any purpose.